Well, here we are, back again after a long layoff from playing (doing lots of painting though). I sat down to do some more painting the other night and thought maybe I should play a little instead, so I broke out the piles of stuff:
- Giant tackle box of cards and minis
- Box of terrain
- Box of rules and campaign books
- Card box full of RAMV cards and some card trays
There is a fair amount of effort in getting setup, including figuring where I left out. Thankfully, this is being recorded online using the
D2E Tracker. So after getting everything sorted and the map setup, I was ready to go.
For those that are not familiar with my setup - I am playing through the
Heirs of Blood campaign for
Descent 2nd edition using the
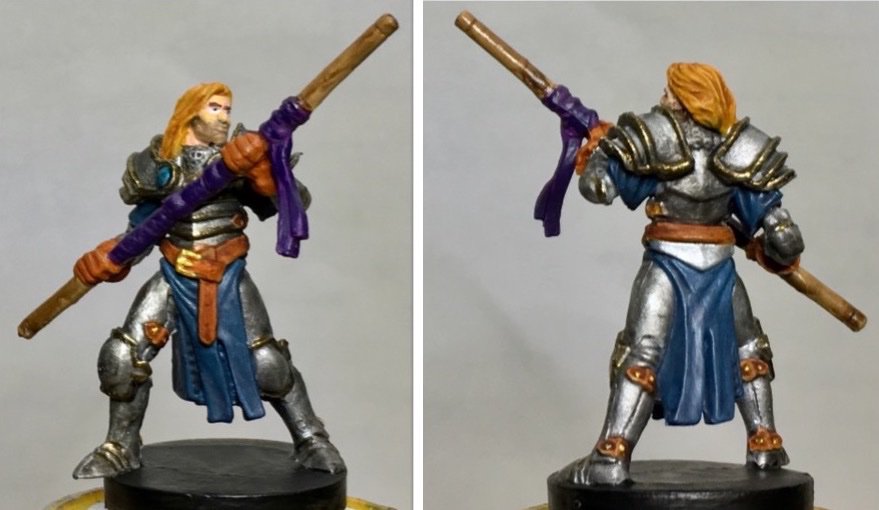
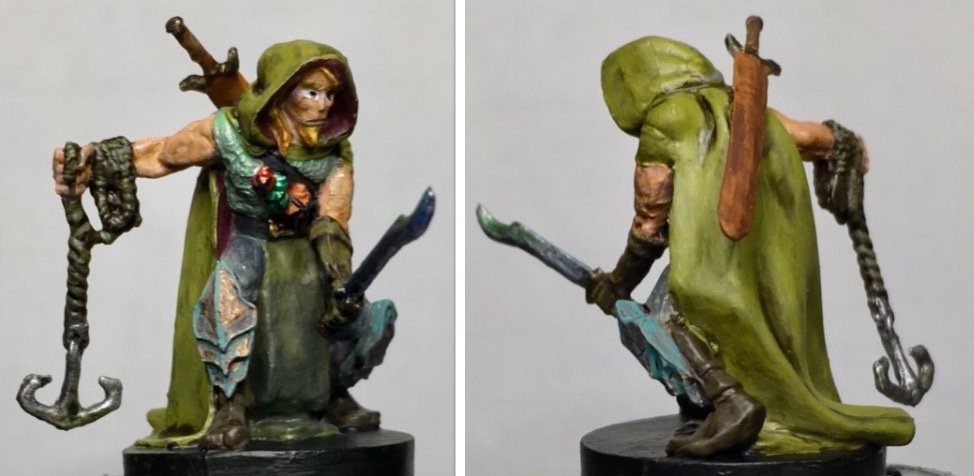
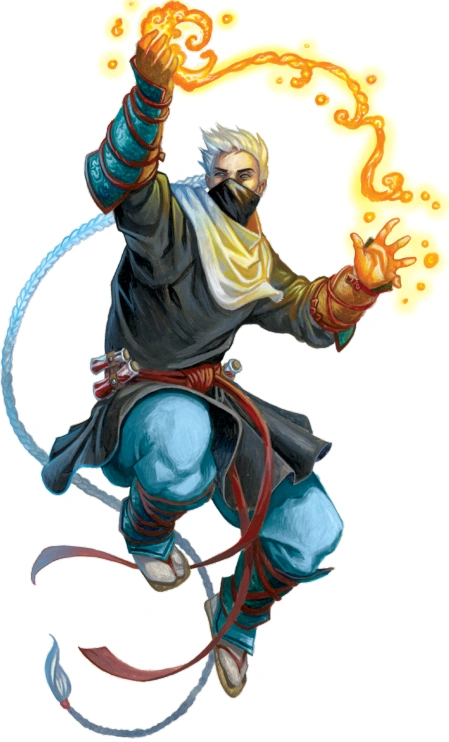
RAMV system for solo play. In many ways, this system is like the Road to Legend computer system, but setup to play through the printed campaigns. Because there is no overlord, each round there is some variable effect in play. I am playing three heroes: Widow Tarha (mage), Tomble Burrow (scout), Syndrael (warrior) (yeah, trying to get by without a healer).
Also, there are some spoilers, so if you don't want to know about this campaign, don't read on.
On with the show:
... "I've learned that just before the battle started, one of my soldiers, a man called Arrizon, deserted. He fled northeast, across the river. I fear he is a spy and traitor. Capturing him may reveal more than any of the other captives can."
Travel Steps: A traveling sage gave me access to his library, but I didn't learn anything. I traveled through a place with webs hanging everywhere, and a spider bit Widow Tarha and she started the encounter poisoned. In an orchard with Golden apples, Tomble found a Fire Flask.
Part I
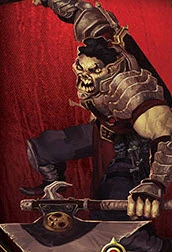
Opponents: Ettin (Rolox), Goblin Archers, Cave Spiders.
We start the scenario with the Ettin rolling a giant boulder towards the gate of the Archive of Arrizon (who may or may not be on our side). The goal is stop the Ettin before he can move the boulder into place to smash the gate. The bad news is that the boulder gives him an extra defense die if you trace line of sight through it or a space next to it (so ranged attacks are less effective). Melee attacks are suicide - if he rolls the boulder over a character, they get knocked out.
Round 1 - Global effect: Monsters cannot suffer conditions.
Syn run to a door, opens the door and starts the attack on the goblins. Rolox moved his boulder. Widow uses her runic blast and wipes out all the goblin minions, but the master is hanging in there still and shoots Syn then runs off. Tomble moves and uses his greedy abilty to search the room. The spiders are coming (I should have had them move through a door and go around instead of following the Ettin.
Round 2 - Global effect - heroes cannot suffer conditions and discard any they have!
Tomble kills the Goblin Archer master and is going to search for treasure until the Ettin is closer. Rolox moves his rock. Widow moves and tries an attack on Rolox, but is too far away. Goblin reinforcement shoots, but Tomble blocks it with his shield. Syn moves up towards Rolox, but stays out of the range of being crushed by the boulder. Spiders still closing in behind Rolox.
Round 3 - Global effect - when a hero regains health, so do monsters within 2 spaces.
Tomble uses fatigue to move up and takes out the goblin near him. He searches again. Rolox does his thing. Syn uses a fatigue move to close the distance and attack but misses, then backs off to try again next time. Goblin master (reinforcement) gets off a good attack, but Tomble blocks it like the Black Panther and Hawkeye fight in Civil War. Widow gets off a pair off attachs but only hits for 2 pts of damage (Ettin at 12 now). Spiders still coming.
Round 4 - Global effect - monsters get a brown defense die added to their pool.
Widow uses her runes and knocks Rolox down some more (Ettin at 10 now). Rolox does his thing again. Syn nicks him for one point but the extra def. die saves him and Syn backs off again. Goblin master misses, his minion buddy is accurate, but blocked by Tomble. All the blocking has worn Tomble out as he misses BOTH his attacks. The spiders are like T2 - still coming.
 |
| Rollin - rolling - rollin on the river! |
Round 5 - Instant event forces Widow to go last (bad for me).
Tomble makes a gamble and tries to run in and stun the Ettin. I need him to have a crazy bad defense roll, which I get, but the attack roll was weak and the Ettin escapes damage, which is going to hurt a lot now. Rolox rolls the boulder over Widow (knock out) and the Tomble (knock out). Syn revives Tomble and then rests to recover fatigue. One nasty Goblin tries to re-knock out Tomble, but misses in his haste. His buddy doesn't miss and the master gets off a huge attack, but Tomble uses all his bag of tricks to take no damage. Widow recovers. And still with the damn spiders.
Round 6 - Instant event causes heroes to suffer two fatigue, bad for the just revived heroes.
Widow is going to take one for the team and get knocked out again, but throw a pair of attacks at the Ettin. Rolox takes damage (Ettin at 7 now). Rolox retaliates and rolls the boulder over Widow and then again towards the gate. The good news is that Rolox is right next to Syn, so she doesn't have to move to attack. Her first attack is big (Ettin at 3 now) and the follow-up was good for a couple more (Ettin at 1 now). The Goblins do their job and knock out Tomble again, then beat on Syn a fair bit. Tomble recovers. Spiders will hopefully be late to the party.
Round 7 - Global event gives the heroes the brown defense die (where was that two rounds ago?)
Syn starts things off right by knocking out Rolox, giving the heroes the win for part I of the adventure.
The Ettin trips and flops down upon the boulder as it careens forward. The momentum pulls his body forward and down crushing one of the heads benith it...
After that, the boulder ends up rolling down and bashing in the gate anyway. Fortunately, the half-Ettin flails about and kills the other minions and the heroes go through the gate, escaping in the mayhem.
Part II
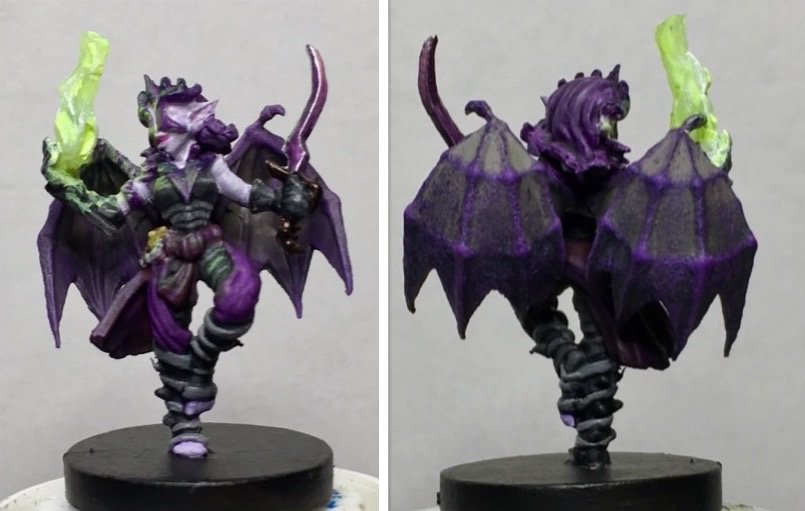
Opponents: Eliza Farrow, Ettin, Cave Spiders, Barghest, Zombies
Well, Arrizon turns out to be a Flesh Moulder, but the enemy of my enemy... There are 10 scrolls to burn, 4 of which are special. If Arrizon (who is an ally this encounter) can burn the 4 red ones, we win. Of course, I have to run all over the map to do this.
** Note, I should have had the spiders go through the door last scenario, they are back, so apparently they want some payback.
 |
| I picked the red one! |
Round 1 - Global (ugg) All monsters gain SAVAGE (after performing an attack, attack again).
Arrizon burns a document - a key one, which means, I have to pick up all the tokens and move them to another room. Oh, BTW all the exits are blocked by spiders and an ettin. Eliza glides over to Arrizon, but misses her attack. Unfortuantely, the global effect means double attacks and her next strike doesn't miss. Tomble makes a quick attack (only wounding a spider), then uses his heroic feat to disappear. Widow gets bit and poisioned. Arrizon gets attacked, but can't be poisoned - but he's taking a beating. Widow can't shake the poison, so goes after the spiders, killing two. The ettin knocks on the door - he want's to join the party. Syn takes out a spider and bashes, but doesn't kill the master Spider. Arrizon is down to one wound - this looks shaky.
Round 2 - Global - when a monster suffers wounds, all monsters within two spaces suffer 1 wound.
Tomble pops up and smacks the master spider. He then uses his healing potion on Arrizon, fully healing him. Eliza's attack is blocked. Syn uses her heroic feat to help move Arrizon out of the way. She rests to gain back fatigue. Widow moves, then goes for a blast attack, wounding all the newly arrived Barghests. The Ettin goes after Arrizon, but Widow and Syn help keep him from being walloped too badly. Since the library door is blocked, Arrizon searches and finds a power potion (really wanted another healing potion). RAMV says the Barghests all howl, the net result being Syn loses/(gains?) some fatigue.
Round 3 - Global effect gives everyone +2 damage with a surge.
Syn spends some fatigue to get into fighting position and takes out a minion and master Barghest, making room for Arrizon to get into the library. Eliza chases after Arrizon and lands a hit from range. Arrizon moves and burns a document, but not the important kind. Tomble gets a couple shots in on the Ettin, but not enough to take him out. Ettin takes it out on Widow, knocking her out and then chasing after Arrizon. Widow simply recovers. Barghest howls again, which this time causes damage to Syn.
 |
| Just run past the Ettin and through the zombies... |
Round 4 - Instant: Maddening whispers cause Syn to knock herself out :/
Arrizon starts things off by burning a document and he happens to find the right one! Which of course means we have to head to the study to find the rest. The study is now occupied by zombies and of course, the Ettin is in the way too. Arrizon starts racing that way. Eliza meets him halfway there and attacks. Widow attacks the Ettin and her first attack fails, but her second blasts him enough to take him out of the fight. The zombies shamble in and the master uses "Grab" on Widow, immobilizing her (she's already poisoned). Tomble moves in and damages the master zombie, but not enough to stop him. Barghest keeps on howling (damaging Widow and fatiguing Tomble). Syn recovers.
Round 5 - Instant effect discarded a search token.
An new Ettin joins the fray! Tomble slides away from the group of zombies and Eliza and throws his fire flask into at a zombie. Not much damage, but he got the blast effect. Somehow, it finishes the master off. He uses his daggers to finish off another. Eliza attacks Arrizon again, but the heroes take the damage defending him. Arrizon makes a beeline for his study. Zombies knock out Widow again and then try Tomble, who blocks the attack. Syn finishe off the zombies and moves to protect Arrizon. Widow recovers. The Baghest still is howling, damaging the just recovered Widow.
Round 6 - No event of matter.
Arrizon goes first, burning two documents, neither of consequence. There are five documents left. Eliza swoops in and does a bunch of damage. Arrizon is going to be toast if I can't stop her soon. Syn attacks Eliza twice and takes her out with two huge unblocked attacks. The Ettin moves in, beating on poor Widow. Widow flees and misses with her return fire. Tomble, being greedy, goes for a search token and comes up with a health potion! The Barghest makes him pay for that and takes a bite out of Tomble, knocking him out.
Round 7 - Global effect - whenever a monster deals damage, it takes 1 dmg.
Arrizon burns two more documents (one was the right one). One of the three remaining has to be destroyed. Tomble recovers. The Ettin races to the study, but is blocked by Syn and Widwow. He smacks Syn, but she deflects most of the blow. Syn returns the blow with a couple of nicks. Widow zaps the Ettin with her rune a couple of times, but doesn't defeat him. The Barghest bites Tomble again.
Round 8 - Instant - all the heroes survived their toughness test.
Arrizon burns a book, but not the right one. Syn knocks out the Ettin then moves to help Tomble. Widow doesn't need to do anything and rests. Barghest attacks, but misses this time.
Round 9 - Instant effect doesn't matter.
Arrizon burns the rest of the documents and the heroes win.
Whatever secret Arrizon was keeping, dies with him and is kept from Eliza.
NOTES:
- I ALWAYS forget the rule that if you don't use a surge, you can recover fatigue. I mostly use them, but Syn didn't really and she needed the fatigue recovery.
- I think I ended up not having enough of a certain kind of card in the event deck - I think I got it fixed for the next outing.
This was a good time, and since I have everything out, I should just play again. Right?
Be sure to check us out at PunchBoard Media!

/pic4840019.jpg)
/pic4840979.jpg)

/pic2387791.jpg)


/pic4797529.jpg)
/pic4817965.jpg)
/pic4772776.jpg)
/pic4748430.jpg)
/pic4701302.jpg)
/pic4688577.jpg)
/pic4683801.jpg)
/pic4685756.jpg)


