

Ok, so maybe you have been interested in Marvel Champions for a while, but couldn't land a copy. Or you just heard about it. Or you have had it sitting on the shelf and haven't quite figured it out. Well, I'm here to help. I've been enjoying the game and I know that there seems to be a large amount of confusion from folks trying to learn to play the game, so I'm here to try and help. This is a bit longer than normal, but stick with me here.
I'm here to tell you all - its pretty easy to get started. The rules and "getting started" book are pretty good, but I'm going to walk through it for you and show you how to play true solo and give you some insight into the basics of playing the game.
First, what is Marvel Champions? Marvel Champions is a cooperative card game in Fantasy Flight Games' line of "Living Card Games" (LCGs). Unlike a Collectible Card Game or CCG (like Magic the Gathering, Pokemon, etc), an LCG simply means that FFG plans to release a steady stream of content (ie expansions) for this game. There are still a lot of unknowns about coming material, but currently none of the additional content is required to play and enjoy the game - you can pick and choose parts if you desire to expand your game set. In fact, the game you get out of the box is ready to play for multiple players.
You may have heard this is a deck building game or a customizable deck building game. Yes, there is some flexibility available to customize your hero deck, but it is also quite a bit more rigid than a more traditional deck building game (see - Arkham Horror: The Card Game). Setting up decks to play (fun decks at that), take less than a minute (as you'll see shortly) - if you have ever played Smash Up!, it is exactly that simple - take a couple sets of cards and you have your deck. No having to fish out 30 individual and different cards from a stack of hundreds.
Getting Started
A couple of general notes. In typical FFG LCG fashion, if a card text breaks the rules of the game, the card text is "correct". You can save yourself a lot of overthinking things by doing exactly (and ONLY) what it says on a card. Don't interpret. If you are unsure, check the rules, but most of the time, the straight forward thing is the right thing. Next, any time you see the silhouette of a person next to another symbol, it basically mean "for each hero". So if you see 2(silhouette), it means 2 per hero.

In a normal game, you will have to beat two versions of the villain. Card I then card II in standard play OR card II then card III in expert mode. HERE, we are going to play in a suggested variant - beginner mode, meaning we will only play against one card, version I!
Put the card(s) you will be using on the table and the remaining card(s) back in the box.
Encounter Deck
Next, we have to build the villain encounter deck. First, look for a card that says "Main Scheme" - it'll be two sided (1A and 1B). Rhino only has the one scheme card, but as you play against other villains, you'll find they will have multiple steps (cards) to their schemes, so find ALL the "Main Scheme" cards for your villain.On side 1A of the Main Scheme card, you'll find instructions on which sets of cards to include in the encounter deck. Rhino's scheme card (Titled "The Break-In!") says Rhino and Standard encounter sets (*note - there is an EXPERT encounter set, so the "Standard" set is simply the name of one of the card sets). It also says to use one modular encounter set and it recommends the Bomb Scare set (the base game comes with multiple modular encounter sets so that you can replay a villain with different cards).
All sets are labeled with the name of the set each card belongs to on the bottom (in a black bar) of the card (under the text box on the card). So, find these three sets of cards:
- Rhino encounter cards
- Standard encounter cards
- Bomb Scare encounter cards
After collecting those sets, we have one more card we need to add (for this game's setup). Each hero has a card (their obligation) that goes into the villain deck. With more than one hero, you'd add the obligatory card from each of the heroes you are playing. Since we are doing true solo (only one hero), we just have one card to add.

For this walk-through, I'm going to play as the She-Hulk. Her obligation card is called Legal Work. Add this single card to the three sets of encounter cards listed above and shuffle those cards. You have now made the encounter deck. Set this (face down) near the other Rhino cards.
*Note! There are 5 other cards included with the She-Hulk set that are not part of your hero deck. Each hero has a nemesis which is represented by a small set of cards that may eventually become part of the encounter deck, but to start the game, they are simply set aside.
That's it! The encounter deck is now ready to be shuffled up. All you have to do now is turn over the Main Scheme card to side 1B and follow any instructions you find there. Rhino doesn't have any additional setup, so we are almost done. Grab that really big hit tracker and dial in the amount of damage the Rhino can take. On the bottom of the Rhino I card in the black stripe (in really tiny print) it says a number of hit points. Set the dials to match this number. This is the amount of damage we are going to have to deal to the Rhino in order take him out (and in our case, win). Now we are ready to setup our hero deck.
Hero Deck
Each hero comes with a two sided hero card and their own deck of cards which is augmented with two additional card sets:
- An Aspect set of cards
- A standard set of general cards.
For the She-Hulk, we are going to use the Aggression Aspect set (red). Mix the aggression set, the She-Hulk hero card set and a standard set and we have built our deck (leave out the two sided hero card). Shuffle that sucker up.
Place the hero card on the Alter Ego side (in our case, the Jennifer Walters side) in front of you. Your hero always begins the game with the Alter Ego side up. Next, grab a hit counter for yourself (one of the little ones - ok, does it really matter which you use? Not in the least!) and set your initial hit points (your starting hit points are in the same place on your hero card as the villain's hit points were on his - at the bottom of the card in the black strip (in tiny print)). She-Hulk starts with a nice high 15 hit points! Lastly, on the card, next to the hit points, it will tell you your starting hand size (six(6)). **NOTE: heroes all have different hand sizes AND the hand size will be different depending on which side of the card you are playing during the game.
Draw your first six cards from your shuffled up hero deck. Look over the cards and make your first choice of the game! From your starting hand of cards, you may discard any number of cards and draw replacement cards (this is called your mulligan). You can discard zero cards or all of them. In order to make a decision on what to keep or discard, we have to explain the hero card information.

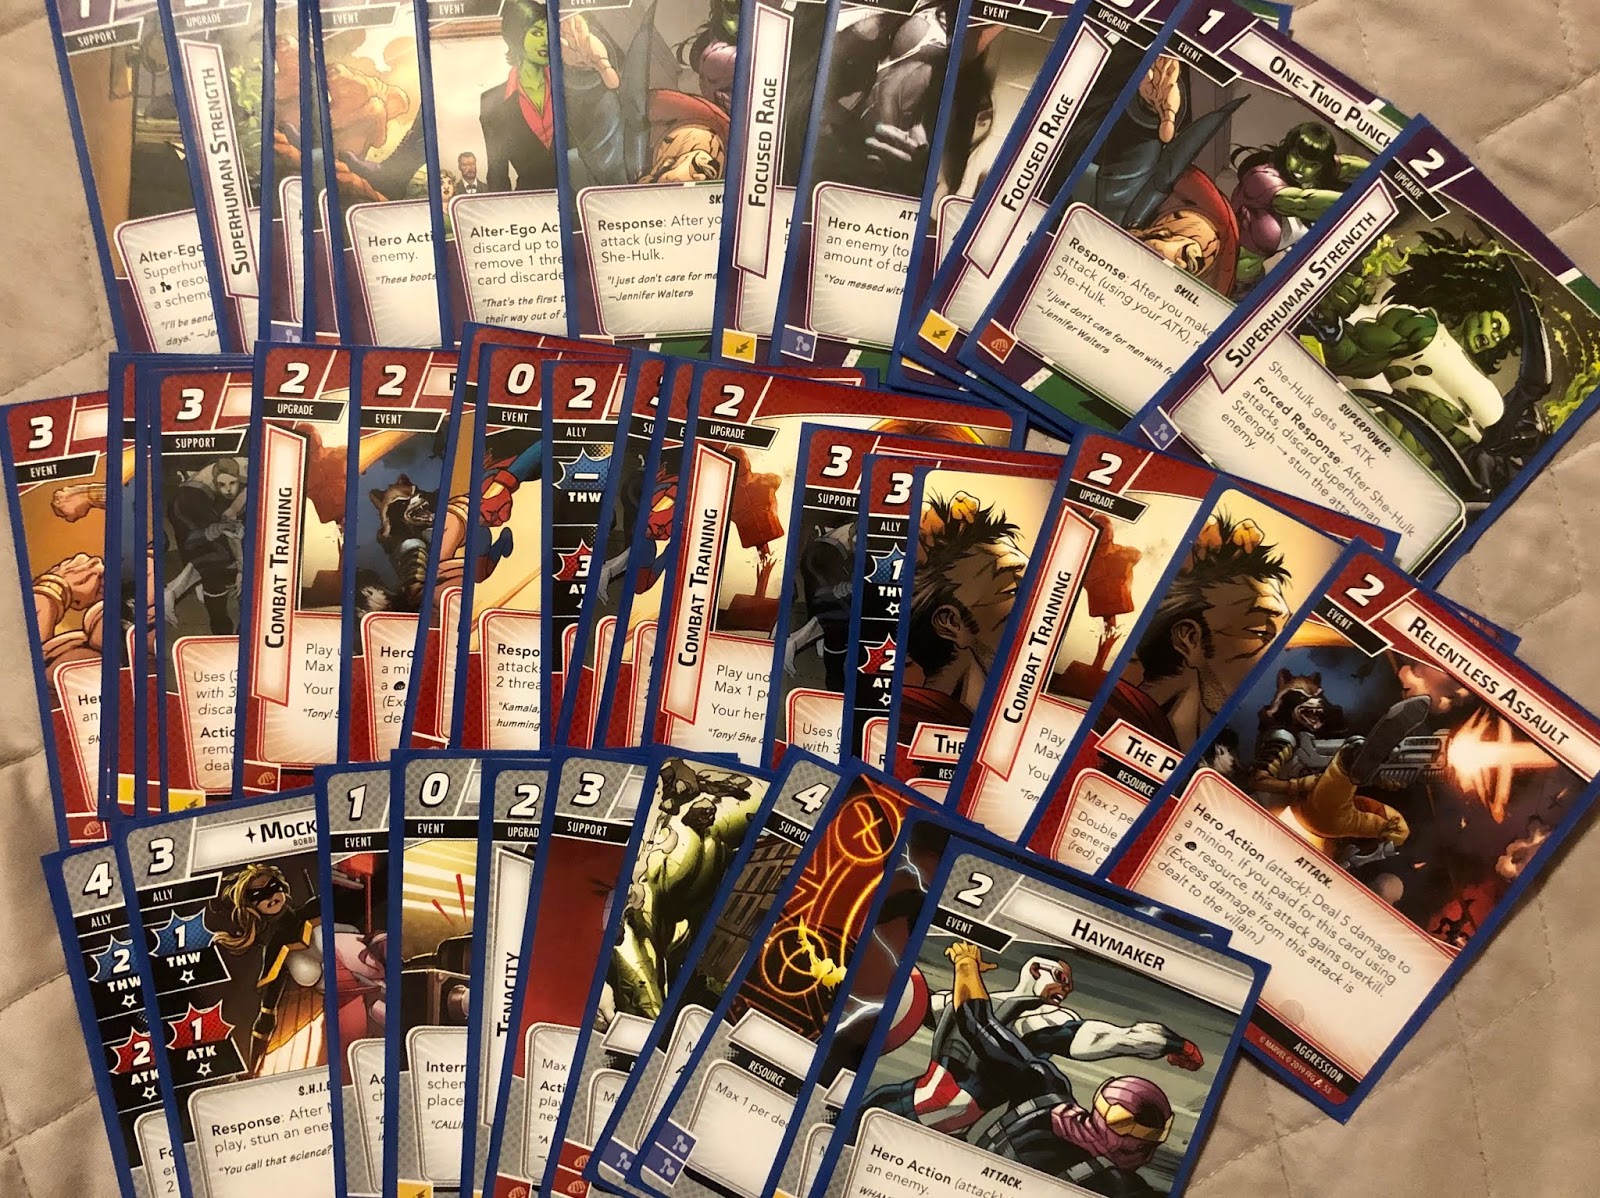
Here are my initial six cards drawn. In the upper left of the cards is a number. That number is the cost to play the card. Your currency in this game are the cards themselves (similar to Race for the Galaxy). In the lower left of the cards is a symbol. Some cards require you to spend a specific type of card (based on that symbol). For the big number on the upper left, you can use any type as long as you spend the appropriate number of symbols - not cards. This is important because a few cards are going to have two (2) symbols on them.
For example, if these cards were my hand and I wanted to play the Uppercut card, I would pay cards such that I totaled at least three symbols (again that cost is not symbol specific). I (having only single symbol cards) would choose three cards to discard in order to pay for the Uppercut card. If I had two cards that each had two symbols on them, I could pay with just the two cards. It is ok to overpay, but you lose the extra "resources" - oh well.
Some of the cards you'll have are one time use cards (such as Uppercut here), some of them augment your hero (such as the Superhuman Strength card) either for a limited time, or ongoing once played. Some, such as Tac Team, support your hero for a specific number of uses.
As a draw, these are not bad cards - there are some good cards here to put a hurt on a bad guy and some cards to really spread damage around - that being said, it would take a few turns for there to even possibly be a couple of minions helping Rhino, so the Ground Stomp card isn't a great starting card. Chase Them Down is another decent card if there is a bunch of guys to fight, but less exciting as a starting card. Superhuman Strength is a reasonable upgrade, though only a one time use. That one use does stun the target (stun will negate an enemy's next attack), so it is a good way to slow down a bad guy. Tac Team is a good support card that can be used three times. Rather than dig for cards, I'm going to keep all of these with the intent to play the Tac Team card and after my next draw, I may try to get Superhuman Strength in play. I'll use the rest as payment.
 |
 |
Jen does have a couple of things to note. On the left of her card is "5 REC" - this indicates that when on this side of the card, you may recover 5 hit points of damage (up to your max hit points(15)). In order to use this recover ability, you must "exhaust" the card by turning the card 90 degrees (you cannot use this ability if the card is in the exhausted state - anytime a card is exhausted, you cannot use the card until it has been reset to its normal, upright state). She also has an Interrupt ability (I Object!) which is used at a specific time (as indicated by the text). *Note, this interrupt will happen regardless of if your hero card is exhausted.
On the She-Hulk side, there are three numbers on the left side. The first (1 THW) means you can exhaust She-Hulk to "thwart" (this means remove threat). The red number (3 ATK) means that you can exhaust She-Hulk to attack, causing three (3) points of damage to one target. The last number in green (2 DEF) means that you can exhaust She-Hulk to defend against an attack by a bad guy and reduce the amount of damage you would receive by two (2). Again, you can only do one of these if She-Hulk has not been exhausted already. Finally, the text on her card indicates that when you switch from Jennifer Walters to She-Hulk, you can deal two (2) damage to an enemy (any enemy). This is not an "attack" nor does it require you to exhaust the card. This happens even if the card was exhausted when you made the switch.
How do I switch and why do I want to switch?
Simple. Once per turn (on your turn) you may flip your hero card to the other side. If exhausted, the card stays exhausted. Ok. We are now ready to get started. We'll cover more terms and the flow of the game as we go.Let's Play! Hero Turn
The heroes start. You can take as many actions as you are able or willing to take. If you were playing with more heroes, each hero takes and completes their turn, followed by the next. Players decide on the order.What can I do?
Your choices will vary depending on the cards you have in play and the cards you have in your hand.
- You can play a card or cards from your hand, paying the cost as described above.
- You can activate some of the cards you have already played - for example, if I had played the Tac Team, I could activate the card to use one of its uses (it has three uses) and do two damage to an enemy.
- You can use one of your hero activations to remove threat from a scheme, or attack a bad guy - as long as your hero is ready. If the hero is exhausted, you cannot use their standard abilities.
- You can flip your hero card (once per turn)
You are not required to use or activate any cards you have in play. You can of course, activate them all if you like (assuming they are ready and/or you can pay any cost that might be required).
For my first turn, I'm going to put the Tac Team in play in front of me on the table. The card says to add three counters. Each time I use the card, I'll remove a counter. When all three counters are gone, the card is removed to my discard pile. I can only activate the Tac Team on my turn and after I do (and spend the counter) I have to exhaust the card (meaning I can't use it until it is back to its ready state). I want to put the Tac Team in play to help me fend off any minion guys that might try and bother me. The cost is three (3) to play this and since all my current cards have only one resource symbol, I pick three cards to pay with - I'm using the two Chase Them Down cards and the Ground Stomp card.
I no longer have enough resources to pay for either of the remain two cards in my hand, so I'm done playing cards. I did NOT have to play cards first, but by playing the Tac Team now, I have the option to use them before my first turn is over.
I'm at full strength, so I don't need Jennifer's recover ability, so I flip her card to the She-Hulk side. The card text tells me that after I change to She-Hulk I deal 2 damage to an enemy. The only guy to hit is Rhino, so I deal him to damage and change his dials from 15 to 13!
Seems like I'm going to need to punch him a few more times, so I have She-Hulk attack Rhino. I exhaust the hero card to show I'm using her ability. The attack is three(3) and I don't have any other cards or things that modify this yet, so the Rhino takes another three damage dropping him from 13 to 10 (this guy is a sissy boy)!
I could have the Tac Team attack him as well, but they have limited uses, so I choose not to use them yet. So I can't play more cards, my hero is exhausted and I don't want to use my played card. I'm done for the round. If there were other heroes, each would also take their turn (one at a time).
End of Hero Phase
Once each hero has taken their actions and declared they are done, all players do the following:
- Ready any of their cards that were exhausted
- Draw cards until the number of cards in hand matches the number listed on the current side of their hero card
For She-Hulk, this number is four(4)! Recall, Jennifer's side of the hero card lets you draw to six (6) cards, so while She-Hulk gets to really pummel the bad guy, my cards in hand options are going to be reduced. I draw two more card from the top of my deck to bring my current hand up to four cards. At this point, all my cards are active/ready.


One of the two cards I drew was Tigra! This Avenger is an Ally card and I mention her because I intend to play her on my next turn. You'll see her card again in a bit.
Villain Turn
Once all the heroes have completed their turn, have reset their exhausted cards back to their ready state, and drawn their cards, the bad guys come to play. The bad guy turns and the things that happen are pretty easy to execute. There is a little bit here to read, but that is because there are (sort of) two different things that can happen based on what side your hero card is currently on when the bad guys act. I'll sum it up after and you'll soon see that this is all pretty easy.
#1 - Add Threat

Add a threat token(s) to the villain's Main Scheme. The scheme card here shows us that we are to add one(1) threat token per hero to the scheme. We know this because the Acceleration Icon (the symbol immediately above the Starting Threat number shows us "+1(per player)" - remember, that little silhouette means per player. Since we have only a single hero, we add only a single threat token.
The number in the upper left (Target Threat) tells us that when the number of threat tokens on the scheme is equal to or greater than seven(7) threat tokens per hero, this phase of the villain's scheme is complete and we go to the next card in the scheme. When the last card in the scheme is complete, the hero(es) lose. Since we have only one hero, if we get to seven total tokens on this card, we lose.
The number in the upper left (Target Threat) tells us that when the number of threat tokens on the scheme is equal to or greater than seven(7) threat tokens per hero, this phase of the villain's scheme is complete and we go to the next card in the scheme. When the last card in the scheme is complete, the hero(es) lose. Since we have only one hero, if we get to seven total tokens on this card, we lose.
*Note, it is possible through various cards that get played, for the threat to become accelerated. If an acceleration happens, it means during this part of the game, you simply increase the number of threat that is added.
#2 - The Villain (and minions) Attacks OR Schemes VS EACH Hero
The villain (and any minions that have engaged the hero) will (each) do the same action against each hero. The action is based on which side of the card each hero is on.
Villain Schemes - Hero is on the Alter Ego side
When your hero is on the Alter Ego side, the villain isn't being confronted directly, so the villain and minions advance the main scheme by adding threat tokens to the scheme.Villain Attacks - Hero is on the Hero side
When your hero is on their heroic side, the villain is being confronted by the hero and the villain and minions attack the hero, trying to knock them out by dealing damage.
The Process for Attack/Scheming
The process is essentially the same regardless of whether you are being attacked or the scheme is advancing - you simply have to use the appropriate value from the bad guy card and either add threat to the scheme or reduce hit points on your hero. When being attacked, you will have an option of defending, otherwise the process is basically the same.First, draw the top card of the encounter deck without looking at it. This is a potential boost card for the villain's action.
If your hero card is on the hero side and you are being attacked, you may defend, which is described below. You must declare a defense before the reveal of the boost card. After deciding if you are defending against the attack, proceed.

Turn over the boost card and look at the bottom right part of the card (ignore everything else about the card). There may be boost icons, a star icon or nothing.
If there is nothing, discard the encounter card.
If there are one or more boost icons, for each symbol, add one(1) additional threat or attack, then discard the encounter card.
If there is a Star Icon, you will need to read the card text to know what the effect might be, then discard the encounter card unless the instructions tell you otherwise.
If you are in Alter Ego form, the villain's SCH value + any boost is the total number of threat tokens that are added to the main scheme.
If you are being attacked, the villian's ATK value + any boost is the total amount of damage that is going to be done.
Defending
If you are being attacked, you may have the option to defend against any attack. Before the attack is resolved (for the villain, before their boost is revealed), you may commit one of your allies to defend your hero or if your hero is ready (ie NOT exhausted) the hero may defend themselves.
Exhaust the defender and subtract the defender's DEF value (if any) from the total amount of damage that the attacker is doing. The remaining damage (if any) is subtracted from the defender's hit points. If an ally takes more damage than they have hit points, that ally is then discarded. If your hero takes the damage and they are reduced to zero or less hit points, you are knocked out of the game. *Note, if you are playing with multiple heroes, another hero can also defend you if that hero is not exhausted.
Minions Attack/Scheme
Now repeat the same process WITHOUT a boost card for each minion that is engaged with your hero. You can defend against minion attacks if there are ready allies (or a hero is ready).

Since I am in She-Hulk form, The Rhino will be attacking me. I draw a card (not revealing it yet). I'm at full health and I really want to have an action available to me later, so I decide not to use She-Hulk's defense to defend against the attack. The boost card is revealed - Legal Work! Now, since this is a the boost card, the only thing we look at is the bottom right part of the card where there are two boost symbols.Rhino I has an ATK of 2, so his total attack against me is now four (4). As I am not defending, I slide my health dial back from 15 to 11.
The Legal Work card is then discarded - the card effect(s) do not happen and (in some ways) I luck out at having the She-Hulk's obligation card dismissed right off the bat. Sure, it caused the Rhino's attack to basically do twice as much damage, but She-Hulk is tough, she can handle it. There are no minions to attack me, so this phase is done.
#3 - Encounters
Now, each hero will receive one encounter card from the encounter deck and then resolve all encounters they have received. It is possible for card and game effects to deal heroes additional encounter cards. When this happens, the encounter card remains in the player's tableau until this phase. Each hero will reveal each encounter (and resolve it) one card at a time until all of a hero's encounters are resolved, and then this is repeated for the other heroes. If a card has surge it means that after finishing the resolution of that card, the same hero will draw and resolve another encounter card.- If a minion is revealed, that minion engages with the hero that was dealt the card. The "engagement" simply means that when they are on the table, a minion is associated with a specific hero. Each minion is different, be sure to read the text on the card. (That's it, you are done. The attack phase already happened, so unless the card text tells you to do something special, engaging the hero is all that happens when a minion is revealed).
- If the card is an attachment follow the instructions on the card and the card become attached to the villain.
- When the card is of the treachery type, follow the instructions on the card, then discard the card to the encounter deck discard pile.
The last type of card you'll see is a side scheme. When you get one of these, put the card near the main scheme and follow the instructions on the card.

Unlike the main scheme, a side scheme enters play with threat tokens on the card. The scheme stays in play until all of the threat is all removed from the scheme, at which point the side scheme is then discarded. Be sure to read the card and follow any setup instructions on the card. The above card starts with two threat tokens plus additional tokens per player.

This description of the icons that may appear on the scheme cards is from the rules book and is pretty well described here, but I wanted to point out a gotcha.
Acceleration and Hazard are NOT per hero - unless followed by that silhouette that looks like a person. If you read the text here, Hazard says "an additional encounter card" (ie one extra) card is dealt. If there are multiple effects that are adding cards (ie two schemes that have a Hazard icon), then the additional cards are distributed to the heroes.
This is one of those things where you have to pay attention to when you see icons - make sure you aren't making the game too easy or too hard.

I draw my encounter card for the She-Hulk and received the Explosion card. I look at it and it says "If Bomb Scare is in play...". I have nothing that says "Bomb Scare" anywhere, so I read on to see what to do when Bomb Scare is not in play. The card says if no Bomb Scare, the card gains surge (which again, just means draw another encounter card).
Into the discard pile goes the Explosion card. The next card that is revealed is called Advance. It is a simple treachery card that says - "The Villain schemes". This means just what it says, I do the same process I would do normally during the Villain turn when he schemes (ie he's going to draw a boost card and then use his SCH value to add threat tokens to his main scheme).
The boost card drawn is the Bomb Scare scheme - which doesn't mean a thing. We only look at the boost icons and see that the card has two boost symbols. The Rhino, not being a criminal mastermind only has a SCH value of one (1), so with his boost, his scheme total is three. Three additional threat tokens are added to the main scheme (ack! Rhino now has 4 total threat on the scheme - he only needs 7 to defeat me) and all the encounter cards that were drawn are placed into the discard pile.
With the Encounters all taken care of, the bad guys are done and we start the cycle over again.
Ok, after one complete cycle of play, you should have a fair idea of what the game play is like:Continuing Play
- Each hero takes turn, one after another.
- All heroes reset their exhausted cards then draw to their specified hand size.
- Add threat to main scheme
- Villain and minions [attack or scheme] against each hero
- Encounter cards are drawn
- Encounter cards are revealed and resolved, one at a time, hero by hero.
- Repeat until one side wins

Since I have exactly three other single resource cards in my hand, I spend all of my cards to bring Tigra in play. The number on the right (the "3" attached to the text field) is the number of wounds/hits this card can take before you have to discard it from play. Otherwise it acts a lot like a mini hero card that you control when your main hero acts.
One thing to note about this (and I think most of the Ally cards) under their THW and ATK there is a little star. That means that after using this Ally and fulling resolving the attack or thwart action, this card takes one hit/wound.
With no more cards to play I have to decide how to proceed. I ultimately decide to use Tigra and She-Hulk for their thwart abilities. I exhaust each and remove one threat for each of them (they each have thwart ability of THW 1) from the main scheme. I also then add a damage counter to Tigra. This brings down the total threat on the main scheme to only two threat.
The only thing left that I can do is use my Tac Team. I remove a counter from the card, exhaust the card, and then cause two damage to Rhino bringing him from 10 to 8 hit points.
Since I'm finished, I reset my three cards to a ready state and draw a hand of four new cards.
Back to the bad guys.
First, I add one threat to the main scheme. The count is now 3 total threat on the main scheme.
Next, Rhino is going to attack my hero. I want to be able to attack on the next hero turn (or thwart if I have to), so I elect not to defend so my hero is not exhausted. The revealed boost card has a single boost symbol on it, so the Rhino's attack total is three and She-Hulk drops three hit points from 11 down to 8.

I don't have any upgrade cards in play (upgrade is another specific type of card that will have a label of "Upgrade" on it), but the Tac Team has a label on it that says Support, so off to the discard pile they go.
If I hadn't had the Tac Team to discard, the encounter card would have gained surge and I would have had to draw another card
And that's it for the bad guys in round two!
Back to She-Hulk. Time to go on the offensive and take a can of whoop-ass to the Rhino.

First I use Tigra to attack the Rhino. She has ATK of two, doing two damage to the bad guy bringing him from 8 hit points down to 6. Tigra also takes a point of damage, reducing her to 1 remaining hit point. I exhaust her card after using her.
Now I use She-Hulk to do a standard attack. Her attack is a nice powerful ATK 3, reducing the Rhino's remaining hit points by half and leaving him at 3 hit points. I exhaust She-Hulk's card after using her.
This is the time for the One-Two Punch. I play the card and use one of the other cards from my hand to pay the cost of one (1). Since I just performed a basic attack, this card lets me ready She-Hulk.
Since she is NOT exhausted, she is ready to perform any action and I have her attack Rhino again. The second punch has the same result - three damage. That reduces the Rhino to zero hit points and I have defeated the Rhino I card. Since I was only doing a beginner run here, I am done and have won the scenario.
If I had been playing in normal mode, I'd remove the Rhino I card from the game and followed any instructions on the Rhino II card then continued.
I hope that if you've been interested in playing, or had trouble getting started, that this was helpful.
Be sure to check us out at PunchBoard Media!

No comments:
Post a Comment